[HTML, JAVASCRIPT] 를 이용하여 토끼 클릭커를 만들어보자!!
ver 0.1
안녕하세요. 오늘부터 토끼 클릭커를 제대로 만들어보겠습니다.
그리고 꾸미기도 하면서 잘 까먹거나, 헷갈릴 수 있는 코드들은 따로 포스팅을 하도록 하며 코딩을 진행 해보도록 하겠습니다.
Start 1일차
연습용 설명은 https://jjaeho.tistory.com/7 가시면 보실수 있습니다.
HTML, CSS, JAVASCRIPT 파일 만드는 부분은 패스하겠습니다. (VSCode 사용합니다.)
지난주 포스팅에서 알려드린 방식을 그대로 사용하여 제작해보았습니다.👍
- - - - 결과물 - - - -

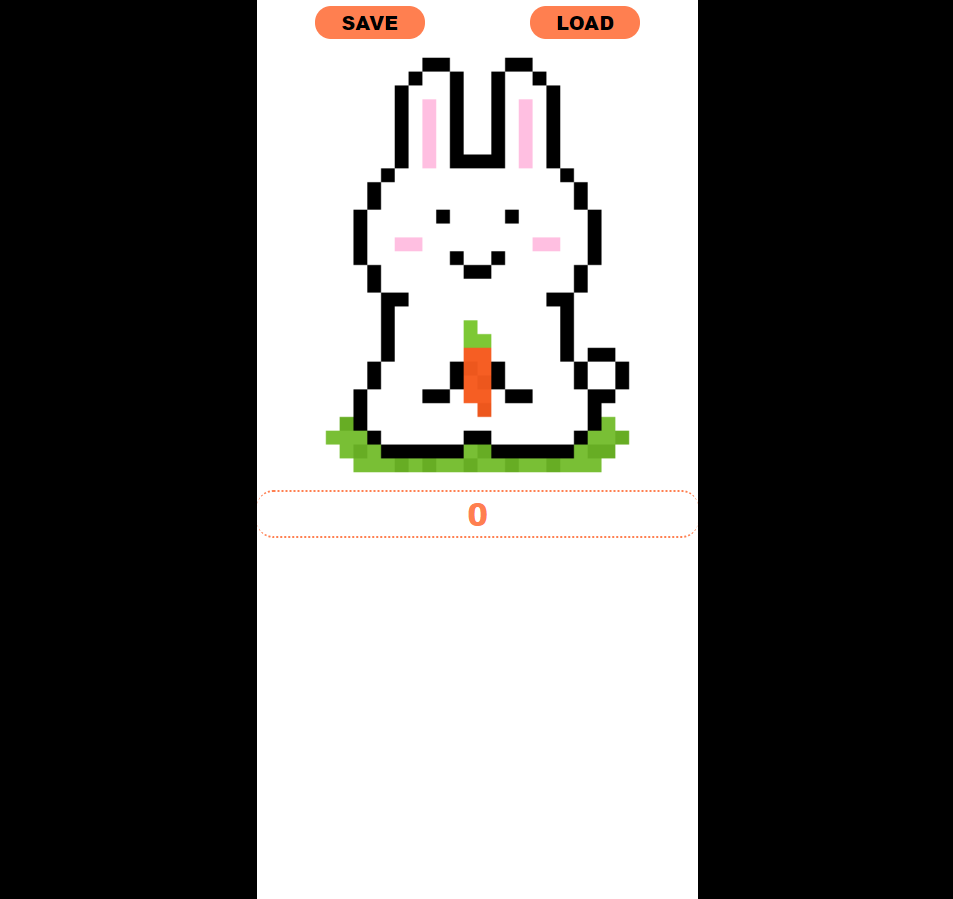
HTML은 설명해드릴게 딱히 없는 것 같습니다.
하나 설명 드리자면 a 태그에서 href = "javascript:void(0);"를 넣었습니다. 넣은 이유는 추후에 태그들이 잔뜩 쌓이면 스크롤을 사용하게 될 수 있습니다. "javascript:void(0);"를 사용하면 강제로 상단이동을 막을 수 있어 매우 유용하답니다.
<body>
    <div class="app">
        <div class="saveOrload">
        <button onclick="save()">SAVE</button>
        <button onclick="load()">LOAD</button>
        </div>
        <a href="javascript:void(0);" class="rabbit" onclick="add()"><img src="./rabbit1000.png" alt="rabbit"></a>
        <input id="carrotCount" class="score" type="text" value="0" disabled>
    </div>
    <script src="app.js"></script>
</body>
자 CSS에서 body태그는 일부러 검은색으로 좀 다른 공간임을 표현하고 싶었습니다. 그리고 div태그를 하나 만들어서 일부러 400px정도 크기로 잡고 진행하였습니다.
여기서 * 를 사용하면 모든 태그에 적용할 수 있는 코드를 넣을 수 있는데 평소에 margin, padding만 넣어주지만 border도 넣은 이유는 사용할 공간을 4oopx로 했기 때문에 그 공간을 벗어나는 border-right를 방지하기 위한 것 입니다.
(약간 굳이? 이긴합니다.)
색감은 토끼와 당근이기 때문에 그냥 주황색 느낌만 첨가해봤습니다.
주의! border 테두리가 전부 지우는 것이나 마찬가지 이기때문에 알아서 만들어야합니다. 🙌
* {
  margin: 0;
  padding: 0;
  border: 0;
}

body {
  background-color: black;
}

.saveOrload {
  display: flex;
  flex-direction: row;
  justify-content: space-around;
  align-items: center;
  padding: 5px;
}

.saveOrload > button {
  width: 100px;
  height: 30px;
  font-size: 1.25em;
  font-weight: 800;
  background-color: coral;
  border-radius: 15px;
}

.saveOrload > button:hover {
  font-size: 1.3em;
  font-weight: 900;
  cursor: pointer;
}

.app {
  background-color: white;
  width: 400px;
  height: 819.1px;
  margin: 0 auto;
}

.rabbit {
  width: 400px;
}

.rabbit img {
  width: 400px;
}

.score {
  width: 400px;
  text-align: center;
  font-size: 2em;
  font-weight: 800;
  background-color: white;
  color: coral;
  border-top: 2px dotted coral;
  border-bottom: 2px dotted coral;
  border-radius: 15px;
}
javascript에서 .toLocalString();를 사용한 이유는 이제 수가 계속 뻥튀기 되며 커질때 셋째 자리수 마다 콤마(,)가 찍히기 위해 넣는 것 입니다. 😊👍
var carrot = 0;

function update(){
    document.querySelector("#carrotCount").value = carrot.toLocaleString();
}

function add(){
    carrot = carrot + 1;
    update()
}

function save() {
    alert("저장 성공!");
    localStorage.setItem("carrot", carrot);
}

function load() {
    alert("불러오기 성공!");
    carrot = localStorage.getItem("carrot");
    carrot = parseInt(carrot);
    update()
}
이렇게 1일차를 마무리하겠습니다.
앞으로 좀더 성능 좋고, 재밌는 방법을 고려해서 제작해보도록 하겠습니다.
분명 더 좋은 방식이 있을 것 입니다.
훈수 가능 😘
싸우자 불가능 😢
저도 배우고 있는 중이라는 것을 감안하고 봐주시면 감사하겠습니다.

'HTML,CSS,JavaScript > HTMLGAME' 카테고리의 다른 글
| [HTML, JAVASCRIPT] 토끼 클릭커를 만들어보자!! ver 0.3 (0) | 2021.11.09 |
|---|---|
| [HTML, JAVASCRIPT] 토끼 클릭커를 만들어보자!! ver 0.2 (0) | 2021.11.08 |
| [HTML, JAVASCRIPT] 클릭커, 방치형 게임 제작하기 (4) _ 조건 증가, 컨셉 정하기 (0) | 2021.11.05 |
| [HTML, JAVASCRIPT] 클릭커, 방치형 게임 제작해보기 (3) _ 구매 제작 (0) | 2021.11.04 |
| [HTML, JAVASCRIPT] 클릭커, 방치형 게임 제작해보기 (2) _ Save, Load (2) | 2021.11.03 |


